A sampler quilt is a quilter’s playground. Each block is a chance to try a new pattern, test a technique, and, most importantly, explore the world of color and texture. But when every block is different, how do you choose fabrics that tie the whole project together without looking chaotic?
The secret lies in a carefully curated selection of fabrics, and that’s exactly what we specialize in here at our little Nevada shop!
The Golden Rule: Create Cohesion with a Fabric Family
The biggest mistake a quilter can make with a sampler is treating each block as a standalone project. To ensure your finished quilt is a cohesive, beautiful whole, you need to establish a “Fabric Family” before you cut the first piece.
- Select a Lead Fabric: Choose one or two fabrics that contain all the main colors you want in the quilt. These will be your design anchors. They are often a busy floral, a novelty print, or a multi-color stripe.
- Define Your Palette: Pull 4–6 colors from your lead fabric. These colors will become the solid, textured, and patterned fabrics that make up the rest of your sampler blocks.
- Choose Your Bridge: Select one or two low-volume (subtle, light-colored prints) or tone-on-tone prints. These fabrics act as the visual “bridge” between the bold colors, giving your eye a place to rest.
Our Expert Recommendation for Sampler Quilts
At our shop, we believe the right fabric makes your creative journey easier. That’s why we meticulously curate our collections from top-tier designers.
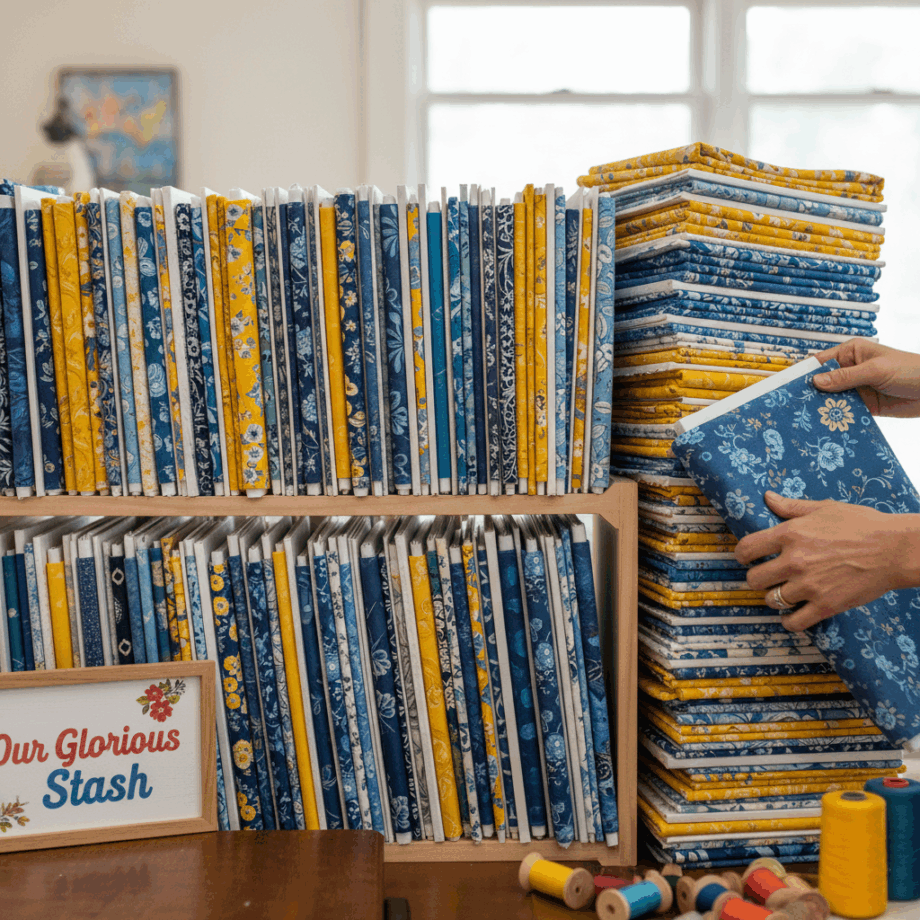
- For Classic, Balanced Samplers: You can’t go wrong with Moda Fabrics. Their collections are designed to work together, often featuring prints and solids in the same colorways. Look for their fat quarter bundles—they’ve already done the color curation for you!
- For High-Contrast, Modern Samplers: Introduce some zing with Island Batiks. The varied tones and hand-dyed textures of batiks add an incredible visual depth, ensuring each block pops even when using the same colors across the quilt.
- The Perfect Blender: A little-known secret to sampler success is a beautiful blender. We love the solid-look but subtly textured fabrics from Wilmington Prints—they provide the “solids” you need without looking flat.
Tips for Making Your Sampler Shine
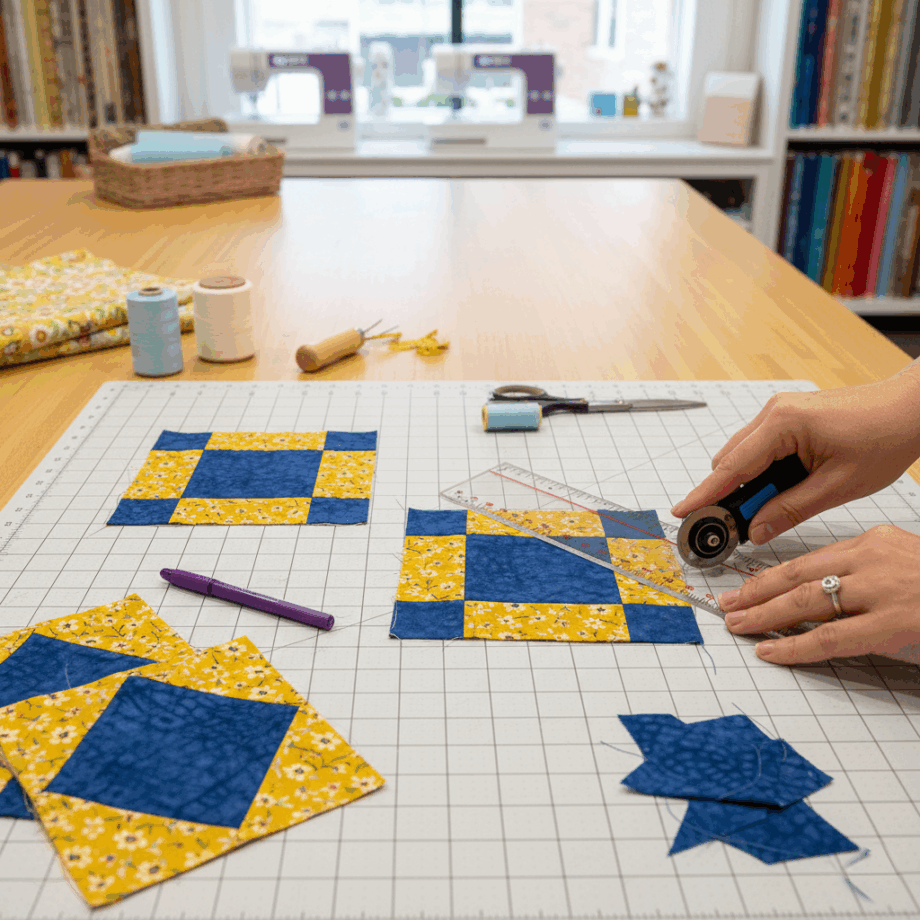
- Balance Scale: When cutting for your blocks, make sure you use a mix of large-scale, medium-scale, and small-scale prints. Too many large prints will overwhelm the small block sizes common in samplers.
- The Importance of Value: Before you sew a block, snap a quick photo with your phone and turn it to black and white. This shows you the value (lightness or darkness) of your fabrics. If every fabric has the same middle-gray value, your blocks will look muddy. You need a mix of lights and darks for definition!
- Don’t Forget the Background: The background fabric (the “negative space”) is what connects all your varied blocks. Keep this choice simple—a solid white, cream, or a soft tone-on-tone low-volume print ensures maximum impact for your hard-won blocks.
Ready to start your next masterpiece? Browse our curated selection of Moda, Wilmington, and Island Batiks today! We can’t wait to see what you create.